

Creating a Kids Gallery Wall: Tips for Creative Displays on a Budget!
Posted by Brooke Sanders on on Jan 17th 2025
Kids’ artwork is one of the most precious forms of home décor that any parent or guardian possesses. The challenge lies in finding the best way to display their paintings and drawings throughout your home. Fridge doors fill up quickly, leaving you searching for a way to highlight their creativity. Instead of letting those masterpieces pile up, transform your space with a gallery wall designed just for them. These tips will help you create a fun, budget-friendly display that celebrates your little artists and adds personality to their space.
Choosing the Right Frame Sets for Your Kids’ Space
The first step in creating a gallery wall for your kids is to organize and measure their artwork. Being prepared helps prevent feeling overwhelmed and ensures a smooth process. Since you won’t be displaying all the artwork at once, decide how many pieces you want to feature based on the available space.
With these measurements in hand, it’s time to choose the frames for your gallery wall. Instead of purchasing individual frames, consider our frame sets to save both time and money. Available in groups of 2 or 4, these sets come in a variety of colors and styles, making it easy to create a cohesive and stylish display. For custom-sized pieces consider ordering a mat to help them fit into one of our available frame set sizes.

When choosing a color for your frame set, consider choosing a single hue for all the pieces. This approach simplifies the project and ensures consistency as new pieces are added over time. Opting for one color doesn’t mean you’re limited to black or white — pick a shade that complements the room’s existing décor and adds a cohesive, polished look to the gallery wall.
Layout Ideas for a Fun and Functional Gallery Wall
When it comes to planning the layout for your kid’s gallery wall, one of the best tips is to use paper cut to the size of your frames. To determine the correct paper size, add the width of the selected frame to the dimensions of your artwork. Since frames have four sides, double the frame’s width before adding it to the artwork size. Keep in mind that a small portion of the artwork will be covered by the frame’s lip — on our frames, this is approximately ¼ inch on each side (or ½ inch in total for both the height and width).
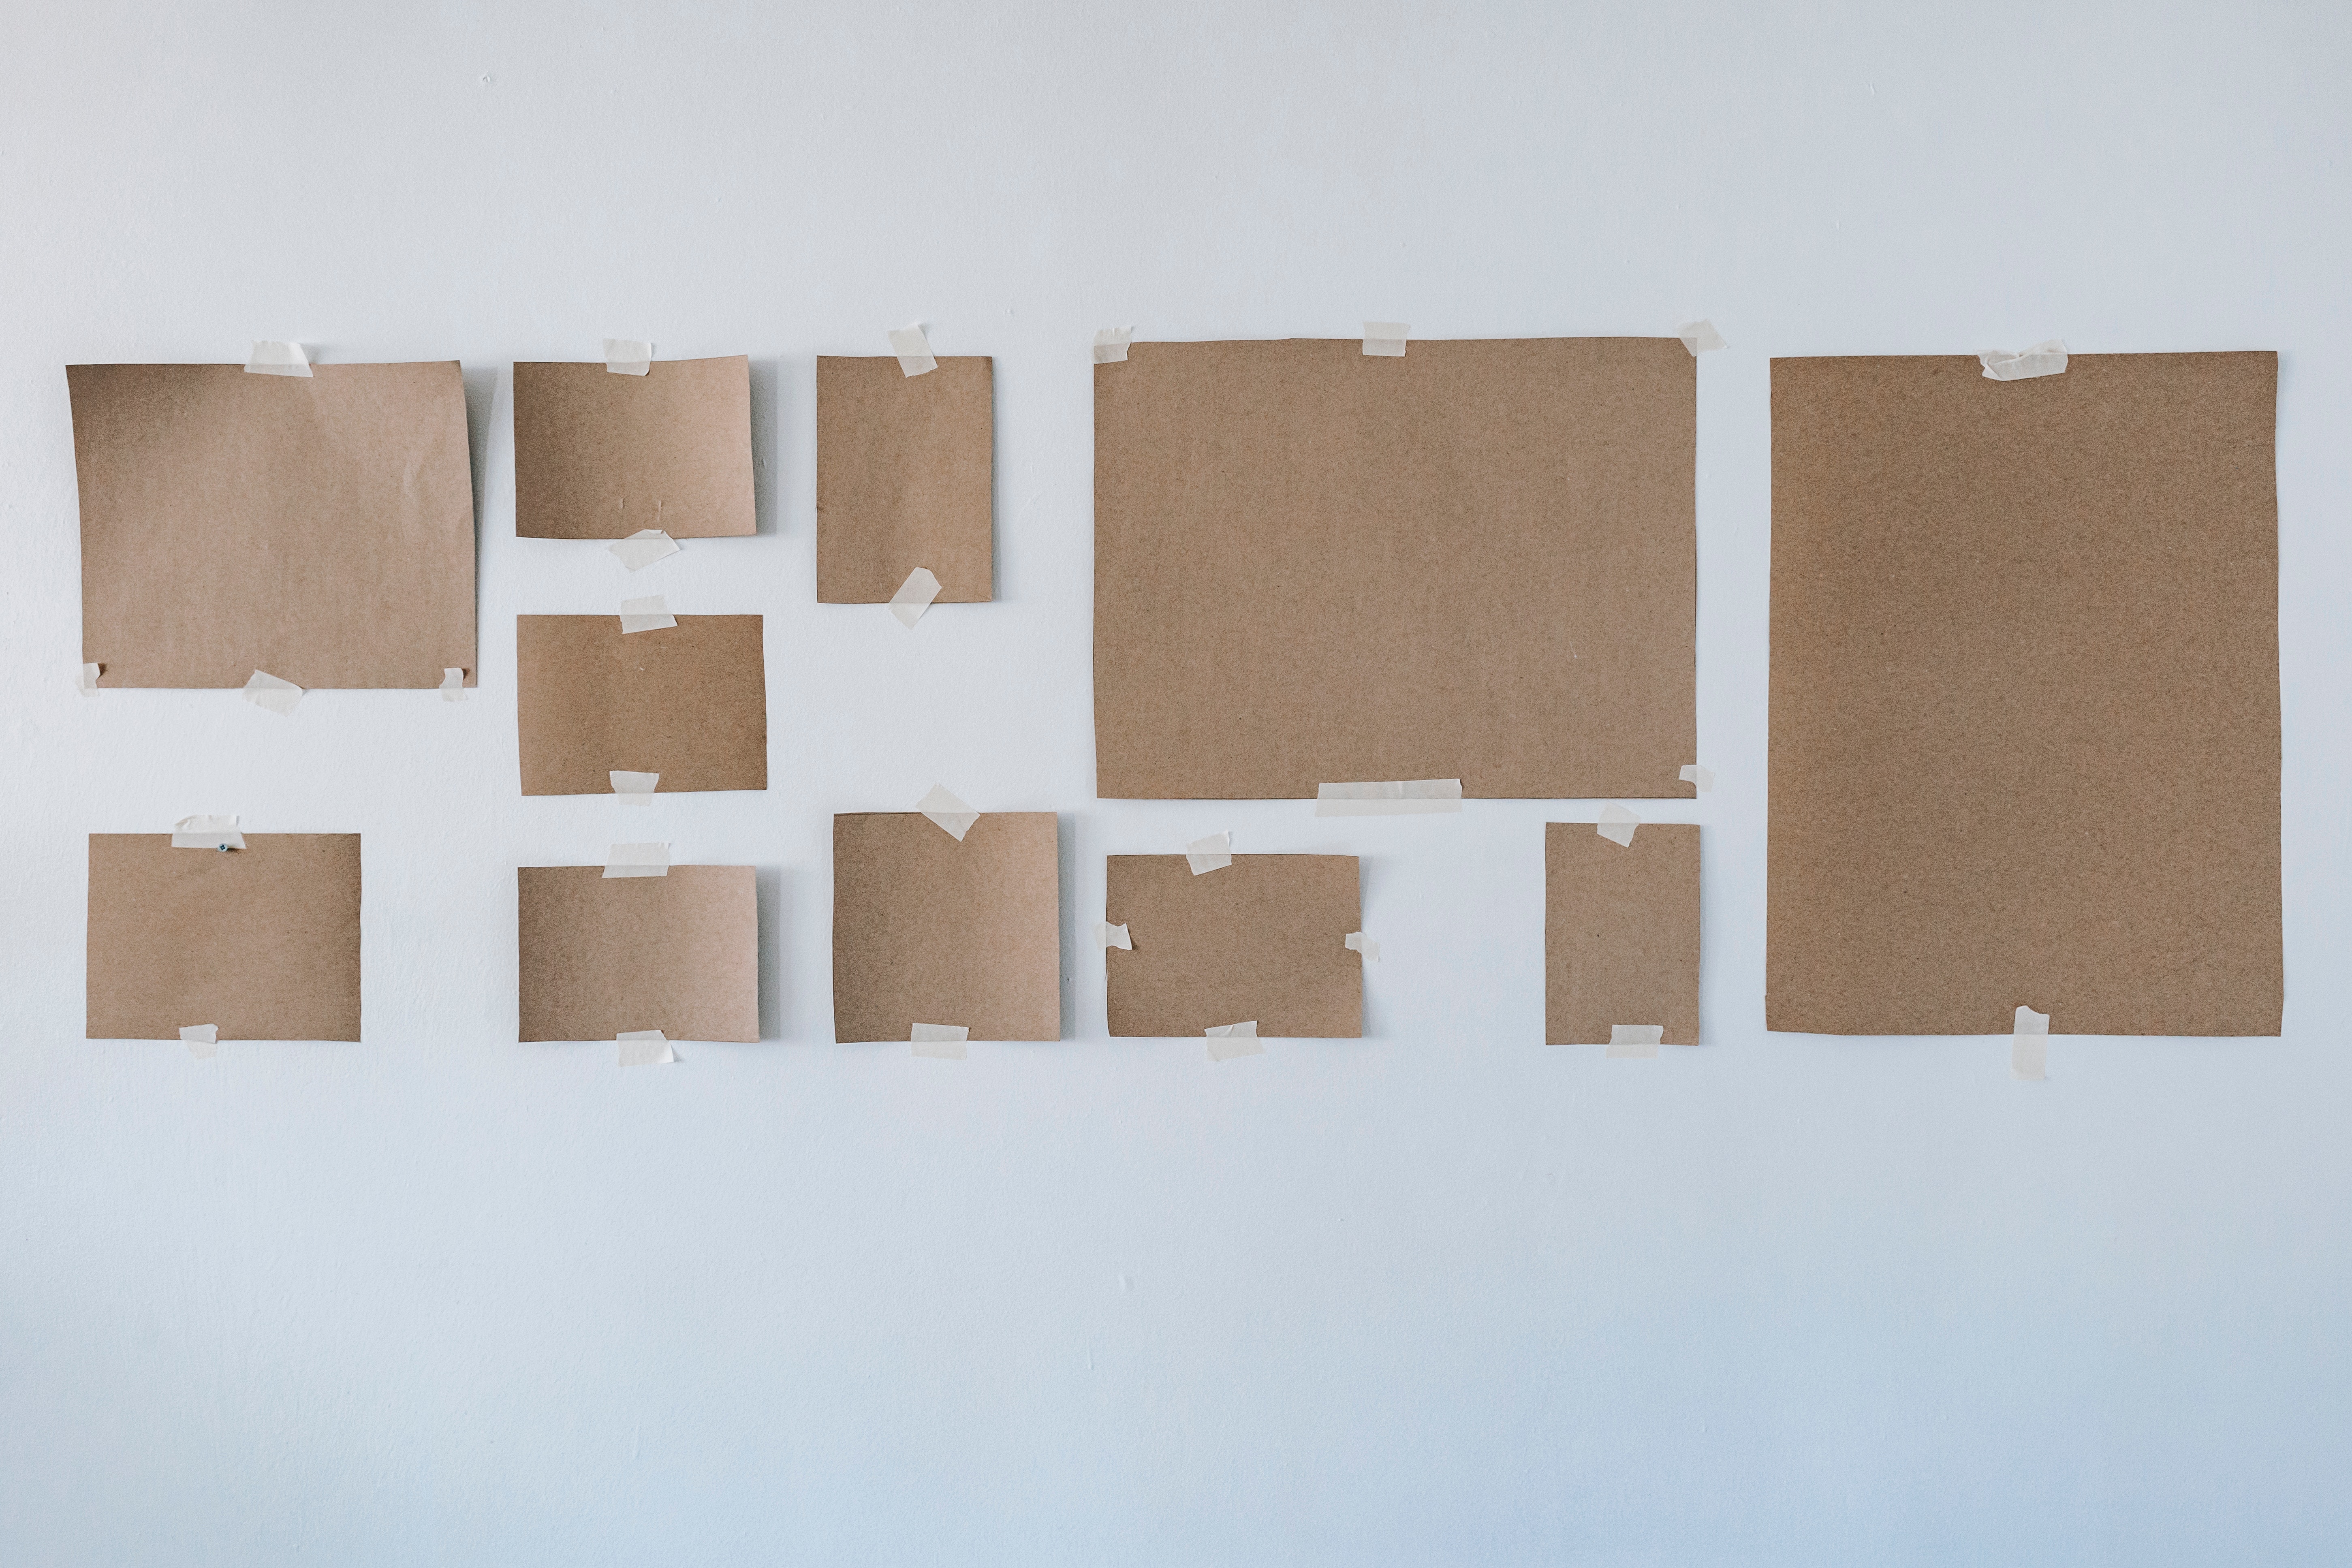
For example, if your art measures 8.5x11 inches and your frame is 2 inches wide, you would need to cut a piece of paper to 12x14.5 inches. Once all your papers are cut to size, you can easily arrange and rearrange them on the wall or floor until you’ve found the perfect layout. The layout style will depend on the number of pieces and the size of the wall. A grid layout provides a clean and polished look, while clusters or asymmetrical designs add a whimsical, cozy feel to the room.
Involving Your Kids in the Design Process
Don’t tackle this project alone — get your child involved in creating their gallery wall. Including them in the process gives them a sense of ownership and allows their personality to shine through. Encourage them to select their favorite pieces and share their thoughts on your proposed layout. Take their feedback into account when finalizing the display.
If you have decided to include matting, consider ordering an extra mat and let your child decorate it. This custom creation can become the centerpiece of the gallery wall with a new featured piece swapped periodically. Involving your child in the process not only makes the project more meaningful but also creates a cherished memory they’ll treasure for years to come.
We hope that these tips inspire you to create a truly one-of-a-kind space for your child. At Craig Frames, we’re here to provide high-quality picture frames and the necessary tips to help bring your vision to life, making your home décor both personal and beautiful.